Custom Fit Heel Boot
Custom Fitting the Heels
With Polyurethane “Liquid Shims”
to Prevent Twisting.
Renegade Hoof Boot Shims
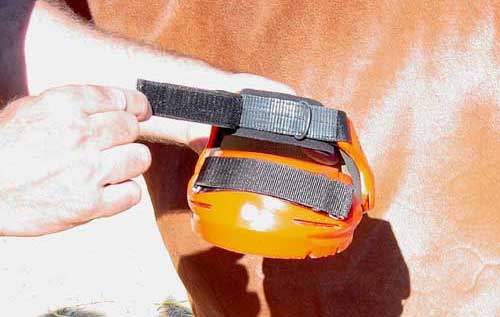
Custom fitting the heels with “liquid shims” is necessary only if the boot has a tendency to twist. Some mild twisting is generally not a problem and most horses will not exhibit a tendency to twist even if the heels do not fit snugly as shown above. In fact, this endurance horse “ZARR” wears this boot size 1 without any twisting problems and without the shim modifications demonstrated here.
It is interesting to note that many mild cases of boot twisting will usually subside after a few miles of break in time. Even if your horse exhibits gaps at the heels, it is recommended that you test ride in the boots first before performing any modifications.
More often than not, twisting is caused by the wrong size, the boot being too tight, or a hoof form that is flared or otherwise not appropriate for the boot.
If your horse shows a persistent tendency to twist the boots, the following method is very effective in stopping all boot twisting in 99% of such cases.
Before you begin:
Start the process in a clear area and have somebody assist you in holding your horse. It is not recommended that you tie your horse during boot installation or modifications. If your horse is not already used to wearing hoof boots, let him spend some time wearing them while turned out in an arena or similar enclosure until you are satisfied he is non-reactive.
Seek the help of an equine professional if you are unsure about your safety when using, installing, removing or modifying hoof boots. Only if you are certain your horse is comfortable and feels safe while wearing the boots should you begin the modifications.
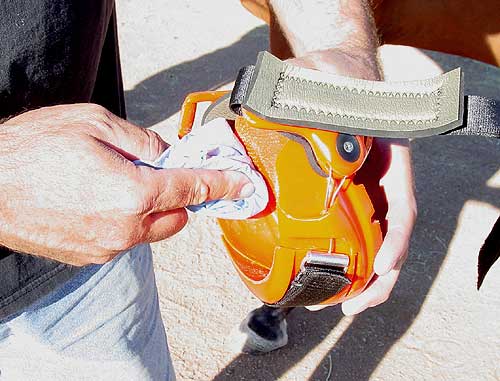
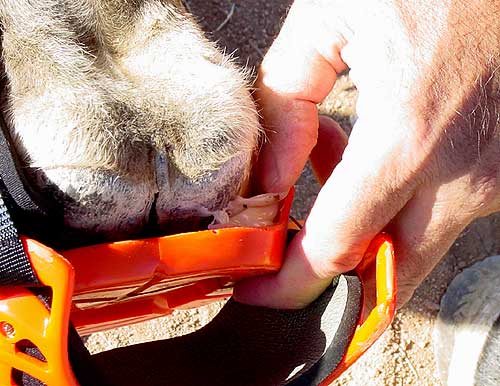
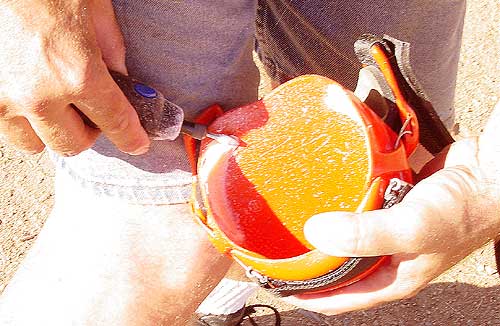
1. Release the pastern strap.
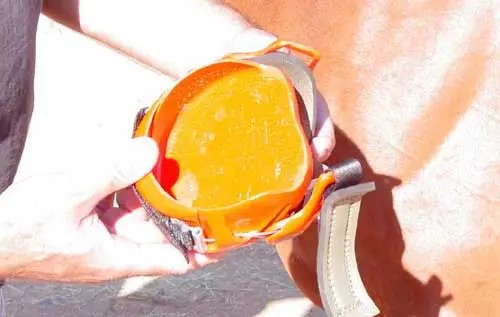
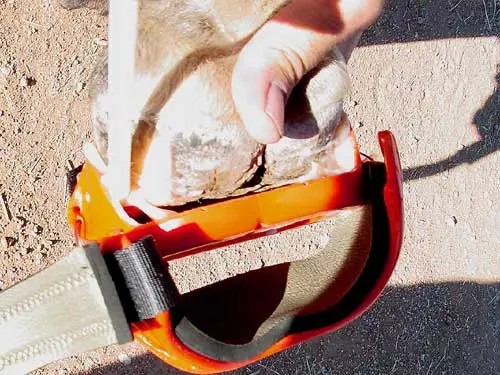
2. Pull the heel captivator downward.
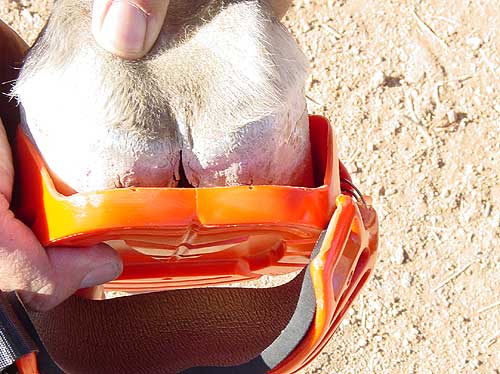
3. Pick up the hoof and insert the hoof into the boot. Notice the side play (gaps) between the heels and the boot sidewalls.
4. You will be filing in these gaps with polyurethane “liquid shims” for a nice custom fit.
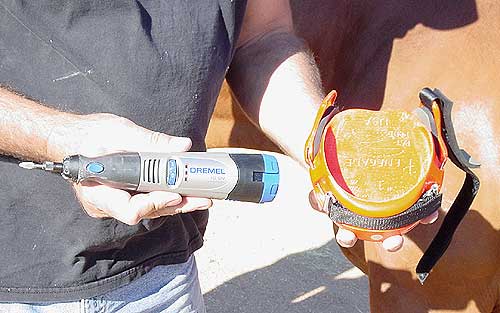
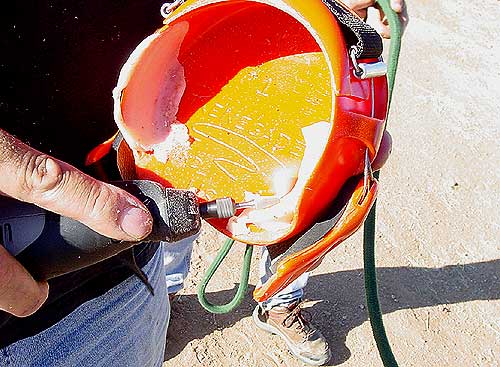
5. Prepare the area to receive the polyurethane material. This is most easily done with the use of a rotary power tool. This particular tool is made by Dremel and is powered with a lithium ion battery for maximum portability out in the field.
Power tools can be scary to horses so first test the tool near your horse to be sure he is non-reactive. If your horse is reactive to the tool then move away from your horse when using the power tool. Coarse sandpaper may be used in leu of the power tool.
Always follow appropriate safety precautions when using power tools including wearing proper eye protection.

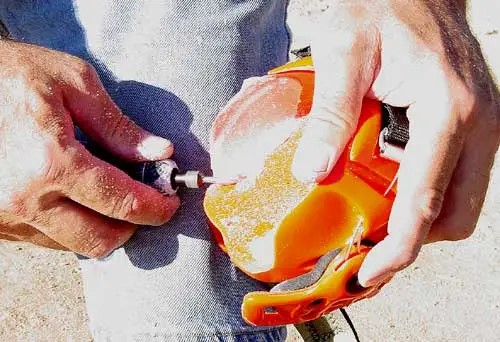
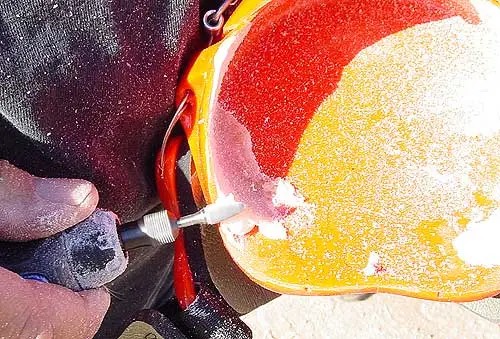
6. The general area shown in the green circle is where we will be bonding the polyurethane material. The object here is to roughen the surface to provide maximum bite for the polyurethane material. Repeat for the opposing side.
This particular tool bit is a 3/8″ flame shaped carbide burr. Rounded end stones or sandpaper rolls will also do the job. As an alternative to the power tool, coarse sandpaper may be used. If you go with the sandpaper method be sure to eat your Wheaties and spinach the day before.
7. Wipe out the bonding area with denatured alcohol commonly found in hardware stores. Follow all safety labels on the denatured alcohol container.
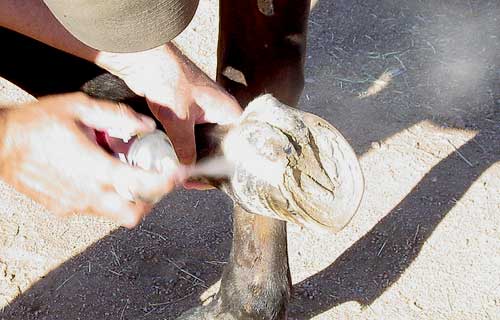
8. Now to prevent the polyurethane from sticking to the hoof, apply spray cooking oil such as PAM to the hoof in the area corresponding to where we will be bonding the polyurethane inside the boot. For obvious reasons, this is a very important part of the process but it is not necessary to apply the oil dripping wet, one light but visible coat is all that is needed. As an alternative to the aerosol cooking spray, regular cooking oil may be wiped onto the hoof. Be sure to apply oil under the hoof and frog adjacent to the bonding area.
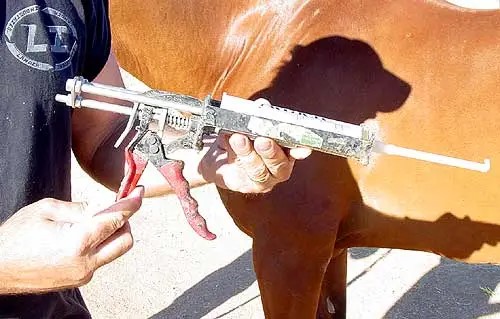
9. Shown above is a cartridge dispenser from Vettec products of the type intended for 180 cc cartridges. We recommend the use of Vettec brand “Adhere” for the actual fitting material. Install a new mixing tip onto the cartridge right before use. If you are squeamish about getting glue on your hands now is a good time to put on some protective gloves of the disposable variety.
10. Install the hoof boot onto the hoof and squirt Adhere into the gaps on both sides of the heels. If the cartridge is brand new, I recommend that you squirt out the first inch or two of material onto the ground or into a trash container as the very first quantity of material may not be mixed properly and may remain gooey in the boot.
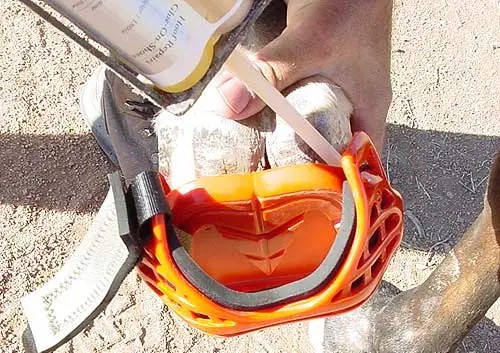
11. Be sure to stick the nozzle well into the gaps with the intent to apply the material only at the sidewalls. While not desirable, it is inevitable that some glue will make its way under the hoof but don’t worry if it does, we can remove it later.
12. Go back and forth as necessary until you are satisfied you have substantially filled in the gaps. The material sets up briskly so don’t fool around too much when applying it
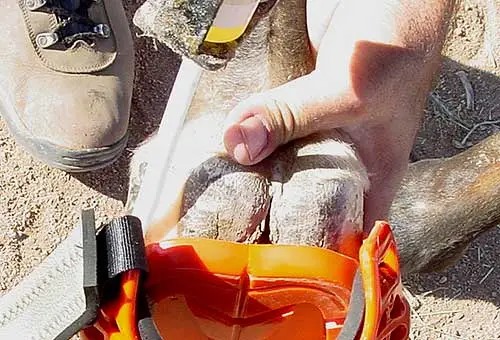
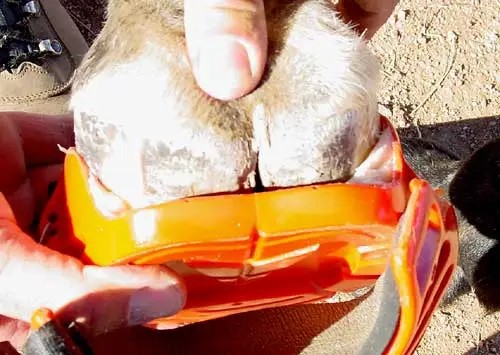
13. Carefully set the cartridge gun down so as to not break the nozzle off and quickly squish the boot up into the sole incase any material made its way under the hoof. Also be sure to line up the central sulcus (middle of the frog) as best you can with the boot mid line.
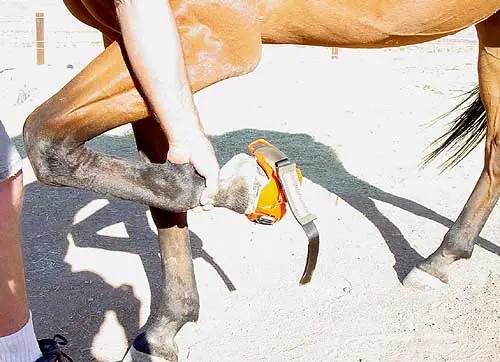
14. Now continue to hold the hoof off the ground for about three or four more minutes. This time period is dependant on prevailing temperatures. You can test the material for tackiness with your finger and when the glue has firmed up, you can pull the heel captivator up onto the hoof and set the hoof down for a few more minuets curing time.
15. After the polyurethane has substantially hardened, pry the boot off of the hoof.
16. The results of your effort, custom shims that fit the hoof perfectly! Yee Haa!
17. Now it is a good idea to clean things up with your power tool. It is important to remove the glue that ended up under the hoof because this material can get pretty hard and in the future, the shape of the material may not perfectly fit the shape of the sole that formed it. This would be like having a rock in your shoe.
18. Generally clean up all areas that look ugly or have squished out beyond the shape of the boot.
19. As an alternative to the rotary power tool, you can use a good hoof knife to cut out the excess before the material is fully set. After 30 minuets to an hour, it’s pretty difficult to trim with a knife. If using a knife be very carefull not to cut yourself and only use this method if you are an experienced hoof trimmer with the skills necessary to trim the sole of the hoof which is similar. Be sure to wear protective gloves
20. Make it pretty now!
21. Wipe out any shavings and install the boot to see what a good job you did!
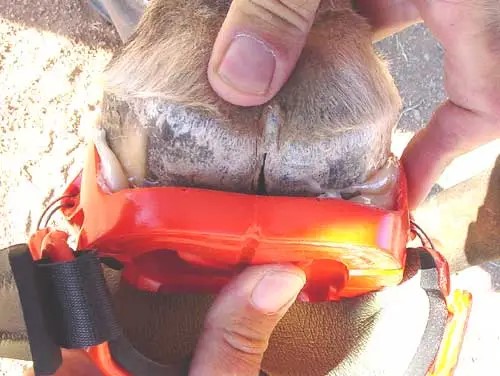
Notice in this view that the central sulcus is lined up with the boot centerline yet there is some medial/lateral imbalance in wall angles evident from one heel to the other resulting in each heel shim looking different than it’s opposite.
This is the real beauty of the liquid shim modification. No matter the heel conformation, the shims will perfectly fit the hoof.
If you are going to ride the horse shortly, be sure to clean off the oil from the hoof and any that may be present inside the boot.